Your Own Candy Shop: How to Build a Beautiful Filled Chocolate Bonbon Box from Scratch
There's something almost magical about opening a box of chocolate bonbons. The glossy shells, the neat little rows, the moment you bite through and hit that soft, flavored center — it feels fancy, intentional, a little indulgent. And while it might look like something only a trained pastry chef could pull off, the truth is that making your own filled bonbon assortment at home is completely within reach. All it takes is a little patience, some basic tools, and a willingness to get your hands chocolatey.
Consider this your starting point.
Gather Your Gear First
Before you melt a single chip, let's talk tools. You don't need a professional kitchen to do this well, but a few key items will make the difference between frustration and flow.
A polycarbonate bonbon mold is your most important investment. These rigid plastic molds (usually 24 to 32 cavities) give you those clean, professional-looking shells that silicone molds just can't match. You can find them online for around $20–$35, and they're reusable indefinitely if you treat them right.
You'll also want:
- A digital kitchen thermometer (critical for tempering chocolate)
- A bench scraper or offset spatula
- A piping bag or squeeze bottle for fillings
- A heat gun or hair dryer (for warming the mold edges when unmolding)
- Parchment paper and a flat baking sheet
If you want to add a little shimmer or color to your shells, pick up some food-safe luster dust or cocoa butter color while you're at it. That's where things get really fun.
Tempering Chocolate: The Step You Can't Skip
Here's the honest truth: if you skip tempering, your bonbons will turn out dull, streaky, and soft at room temperature. Tempered chocolate has that satisfying snap and glossy finish that makes a bonbon feel like a bonbon.
For beginners, the microwave seeding method is the most forgiving approach. Here's the short version:
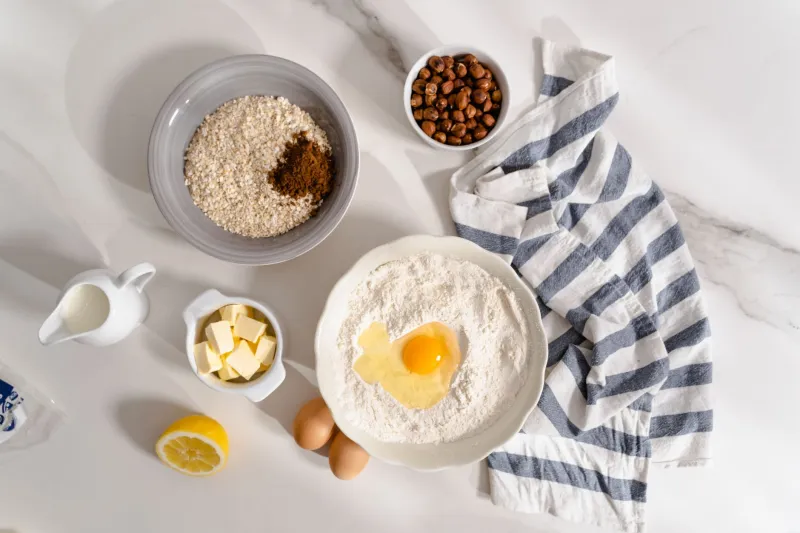
- Chop your chocolate finely (use a good-quality couverture chocolate — Valrhona, Callebaut, or Guittard are all solid US-available options).
- Melt two-thirds of it in the microwave in 20-second bursts, stirring between each, until it reaches about 115°F for dark chocolate (105°F for milk or white).
- Add the remaining third of chopped chocolate and stir continuously until fully melted and the temperature drops to 88–90°F for dark (84–86°F for milk or white).
That's your working window. Move quickly once you're there.
Filling Your Molds: Shell First, Then the Good Stuff
Pour the tempered chocolate into your molds, tap them firmly on the counter to release air bubbles, then flip the mold over a bowl and let the excess drip out. Scrape the top clean with your bench scraper and set the mold upside-down on parchment paper for a few minutes. Once the shells have set (they'll look matte on the inside), you're ready to fill.
This is where your creativity kicks in. Here are three flavor directions that work beautifully for beginners:
Salted Caramel: Make a simple dry caramel, then whisk in warm heavy cream and a generous pinch of flaky sea salt. Let it cool to about 80°F before piping — it should be thick but still fluid. This one is crowd-pleasing every single time.
Raspberry Ganache: Warm a raspberry purée (fresh or frozen works great) and pour it over finely chopped dark or white chocolate. Add a small knob of butter for gloss, stir until smooth, and let it set to a pipeable consistency. Bright, a little tart, and gorgeous against dark chocolate shells.
Bourbon Pecan: Toast finely chopped pecans, mix them into a brown butter ganache spiked with a splash of your favorite bourbon. This one is especially perfect heading into fall and winter. It tastes like the best pecan praline you've ever had, tucked inside a chocolate shell.
Fill each cavity to about three-quarters full, leaving room for the final chocolate cap. Let the fillings set at room temperature (or refrigerate briefly if you're in a rush, but don't leave them in too long — condensation is the enemy of clean shells).
Capping and Releasing
Once your fillings are set, pour another thin layer of tempered chocolate over the mold, scrape it flush, and let it firm up completely. Flip the mold over a clean surface and give it a firm, confident tap. If your chocolate was properly tempered and your mold is clean, the bonbons should release cleanly and with a satisfying little click.
If a few stick, a quick pass of warm air from a hair dryer around the edges usually does the trick.
Finishing Touches That Elevate the Whole Thing
This is where you go from "homemade" to "wow, did you make these?" A few ideas:
- Luster dust: Brush a little gold or bronze luster dust over your finished bonbons for instant glamour.
- Cocoa butter splatter: Flick a small amount of colored cocoa butter across the inside of your mold before pouring the shells for a marbled, artistic effect.
- Toppings: A single flake of Maldon salt, a tiny dried flower petal, or a sliver of candied citrus pressed onto the cap before it fully sets adds personality and makes each bonbon look distinct.
Packaging Your Box Like a Pro
Presentation matters — especially if you're giving these as a gift. A few simple choices make a huge difference:
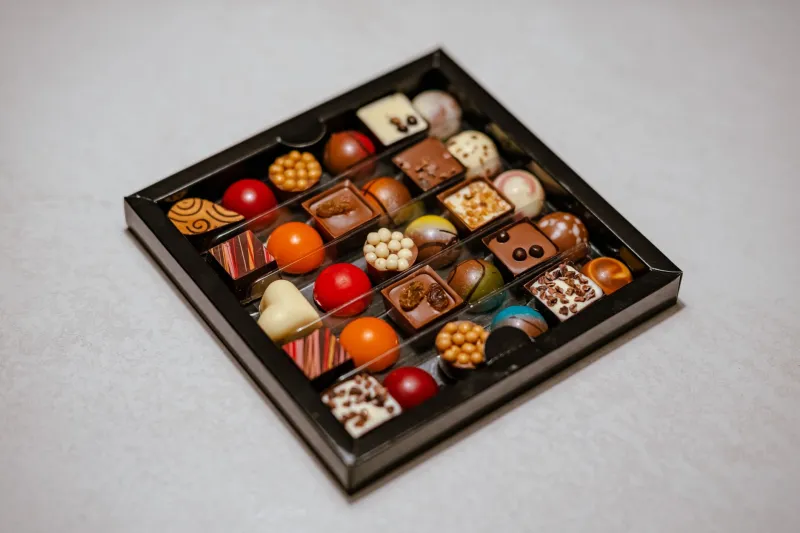
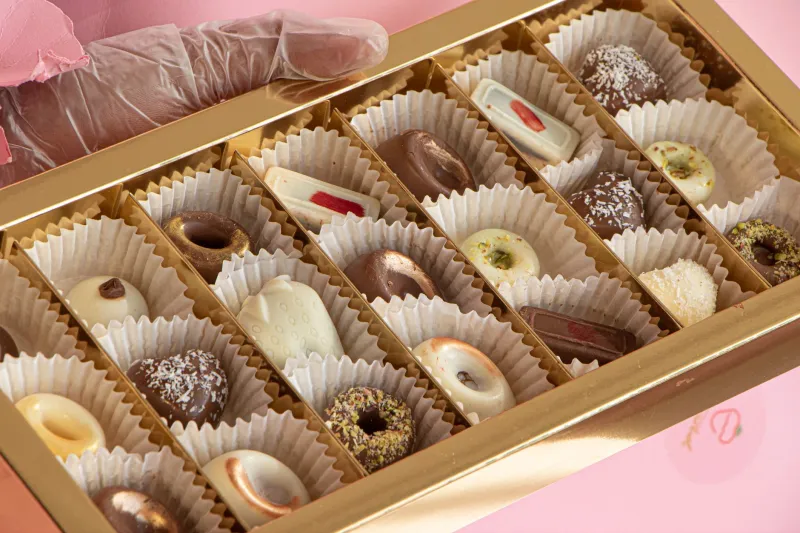
Look for candy box inserts (sometimes called bonbon trays or candy tray liners) online — they keep each piece separated and looking pristine. Tuck your assortment into a kraft paper box or a small rigid gift box, add a few sheets of tissue paper, and tie it with a ribbon. If you want to go the extra mile, write a small card listing the flavors in each row. People love that.
For gifting around the holidays, a box of six to twelve homemade bonbons is genuinely one of the most thoughtful things you can bring to a dinner party or drop off for a neighbor. And honestly? It might just become your new signature.
Start Small, Think Big
Your first batch probably won't be perfect — and that's completely fine. Maybe the shells are a little thick, or one filling is slightly too soft. Every round teaches you something, and even the imperfect ones taste incredible. The joy of making your own bonbon box is that the whole process is as pleasurable as the finished product.
So clear off a bit of counter space, queue up a good playlist, and get melting. Life is, after all, a little sweeter when you made the candy yourself.